This step-by-step tutorial demonstrates how to create a Razor Pages application from scratch, and how to add common functionality to it including communicating with a database, working with cookies, forms and sending email.
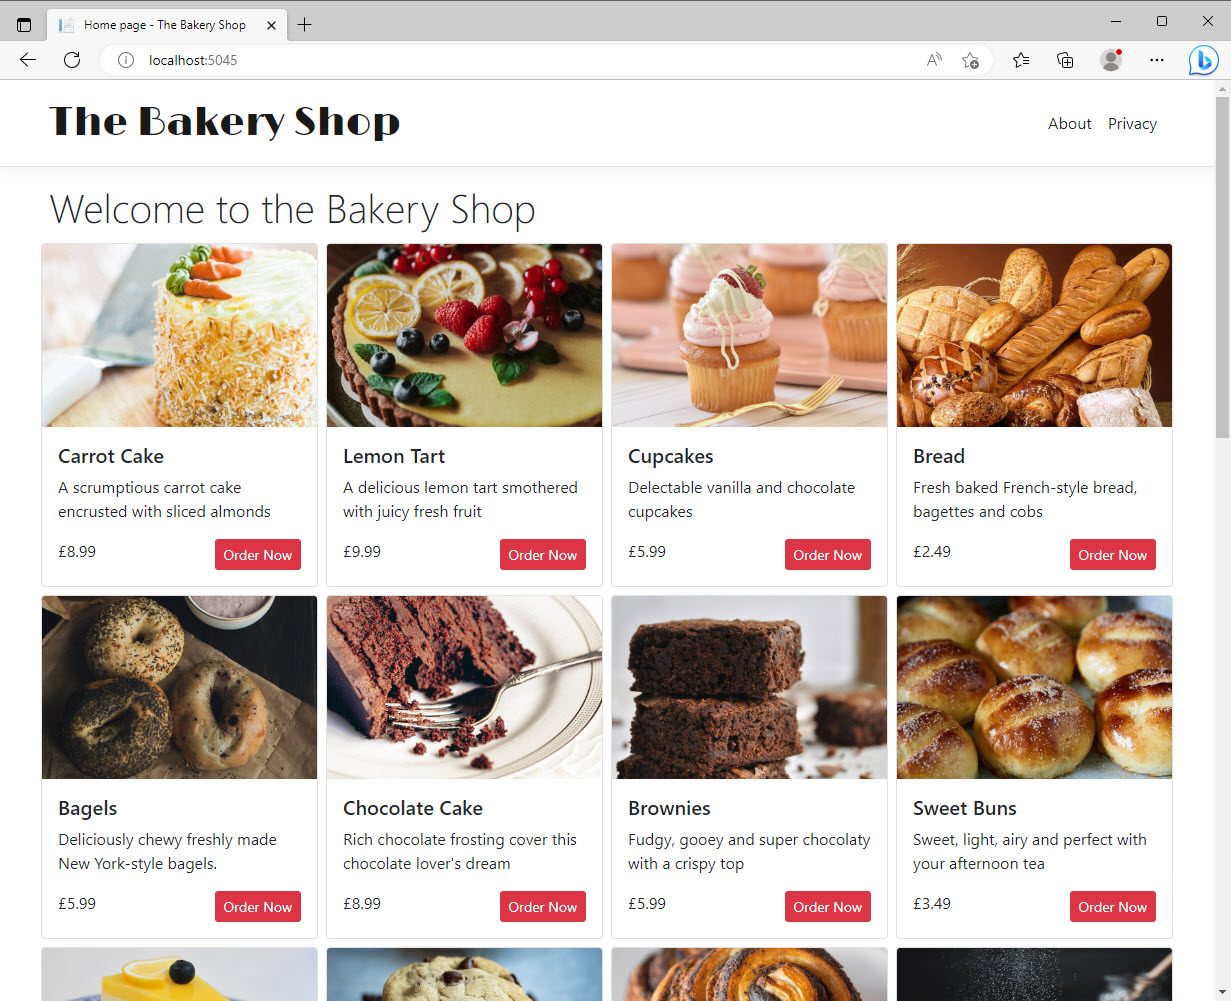
The application you will build is inspired by the ASP.NET Web Pages Bakery template site. The ASP.NET Web Pages framework was a page-based web development from Microsoft, which has effectively been replaced by the Razor Pages framework. The template site itself represents an online ordering system that enables users to place orders for a variety of baked goods. From a technical perspective, the original site demonstrated
- the use of a file-based database for storing product information
- basic data access
- creating and processing forms
- sending email
In this series, the Razor Pages version of the application includes a look at many more framework features, as well as sections on incorporating other technologies such as Sass and TypeScript.
The steps are as follows:
- Getting started
- Creating the application
- Adding a new page
- Working with navigation
- Creating the model
- Adding a migration
- Working with data
- Enabling Sass
- Starting with forms
- Working with TypeScript
- Using cookies
- Creating view components
- Adding email
- Using scaffolding
- Uploading Files
You will build the application with Visual Studio Code - an open source code editor produced by Microsoft with the help of contributions from the developer community. Data will be stored in a relational SQLite database. Both of these choices enjoy the benefits of being cross-platform and relatively easy to use, which helps to make this series accessible to developers of all abilities on any platform.
This app will be built using the ASP.NET Core web development framework which is included as part of .NET, and Entity Framework Core, an Object Relational Mapper developed by Microsoft. This version of the tutorial uses .NET 7.0, which is a Standard Term Support (STS) release of .NET. As such, it is supported for 18 months after its release date. Long Term Release (LTS) versions of the framework are supported for 3 years after their release date. Most often, upgrading from one version of the framework to another is as simple as changing a few numbers in a project file. More of that later.
ASP.NET Core is the cross-platform web development framework provided by Microsoft. It has its roots in the ASP.NET framework which was launched at the beginning of the century, and as such, is a battle-tested, full-featured mature framework. Razor Pages, introduced in 2017, forms part of ASP.NET Core and is the recommended option from Microsoft for creating server-side web applications, i.e. those where the processing and rendering of HTML take place on the web server (as opposed to within the browser).
The source code for the completed application is available on GitHub
Get the bits
To start, you need a software development kit (SDK) and a code editor.
Get the SDK
First, obtain .NET from here. You should download the SDK (Software Development Kit), which is needed for building .NET Core applications. The other option - the runtime - is what you would install on a server where you want your ASP.NET Core applications to run. The SDK includes the runtime.
Once installed, use the .NET Command Line Interface (CLI) to confirm which version of the SDK is currently in use by opening a terminal/command prompt and typing the following command:
dotnet --version
You can execute dotnet --help for a list of other commands available.
The code editor
Many .NET developers typically use Visual Studio from Microsoft, an Integrated Development Environment (IDE) that supports a wide range of development activities out of the box. As such, it demands a large footprint (over 6GB for a typical install) and can consume a lot of resources. While a version for the Mac OS exists, it is primarily a Windows-only product. A free version is available for non-commercial use (the Community Edition), which is full featured. Alternatively, JetBrains provide a cross-platform IDE called Rider. They offer a 30-day free trial, but not a free version.
Visual Studio Code is a free, lightweight, open source, cross platform code editor that supports different workflows via extensions. Consequently it's footprint is a lot smaller than a full-featured IDE.
Download and install it, then install the C# extension, which is needed for C# development. You can locate this by clicking the Extensions icon on the left hand side  and typing "C#" in the search box that appears at the top of the pane. You should also install the C# Extensions extension, which provides templates for adding C# class and interface files.
Now that you have the requisite bits, it's time to create your first Razor Pages application, which you will do in the next section.
